Free vehicle 3D models rank among the most-downloaded asset categories on every game marketplace — and among the most commonly broken. Indie developers grab a car, truck, or motorbike GLB, drop it into their scene, and immediately hit a wall: scale is off, collision is missing, normals flip under certain lighting, and the single-mesh body has no LOD chain. This case-study walks through every stage of evaluating a free GLB vehicle asset and shipping it to Unity, Unreal Engine 5, and Godot 4 in production-ready condition.
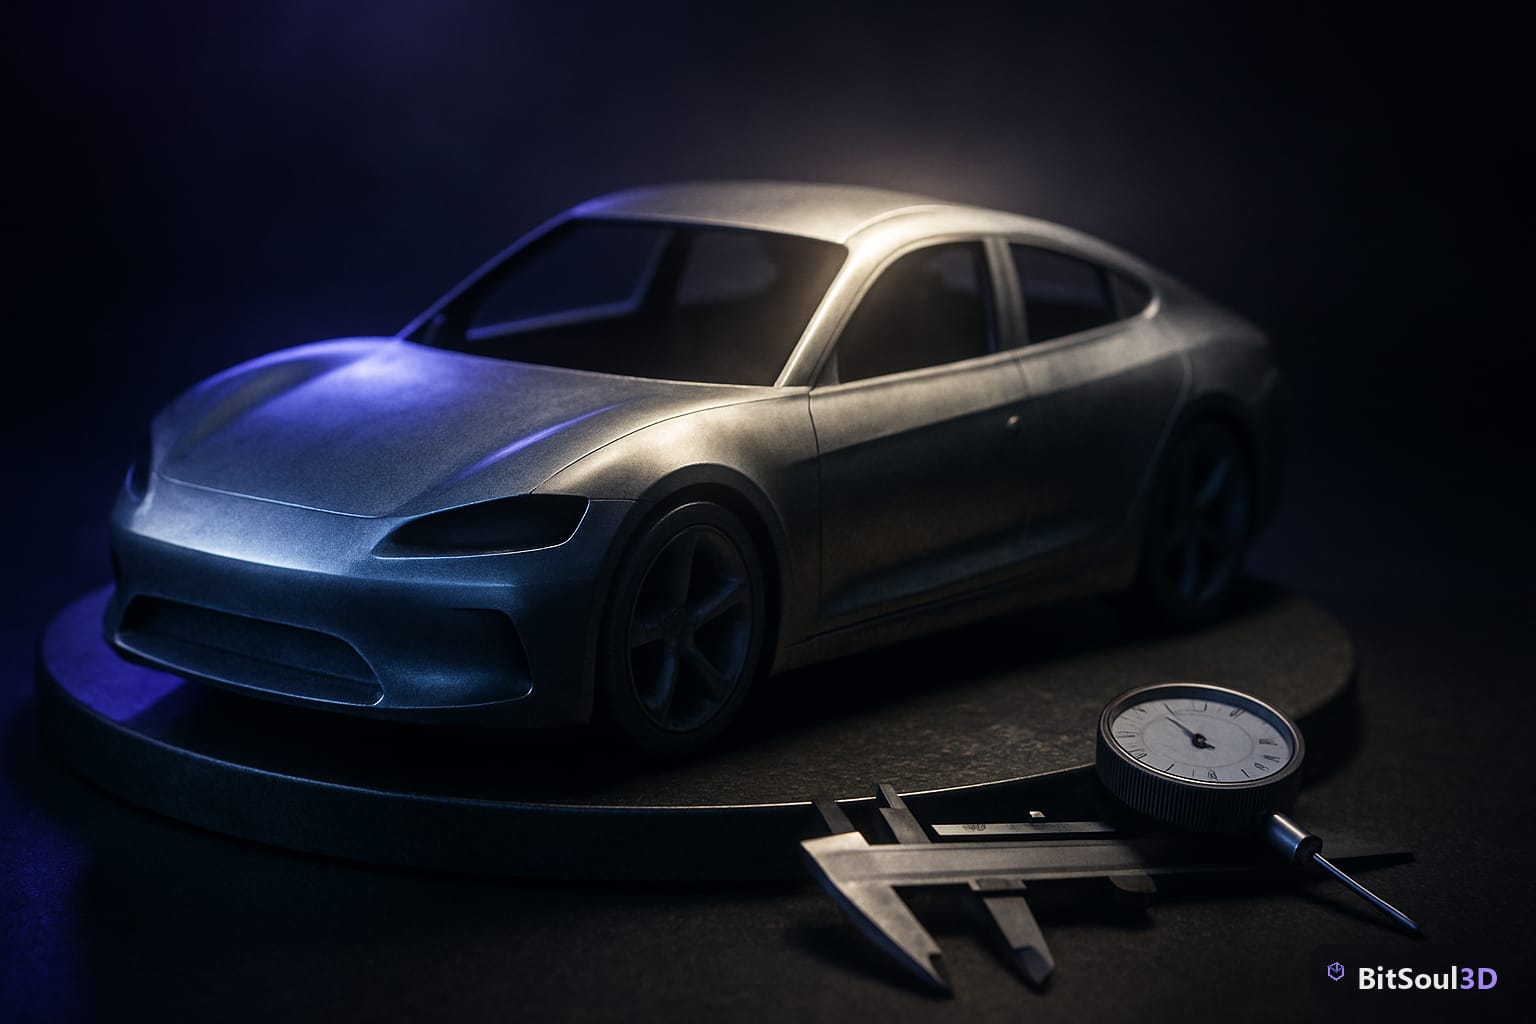
What makes a vehicle asset game-ready
Before downloading anything, open the asset preview and run through a short checklist. A production-ready vehicle GLB should satisfy all of the following:
| Criterion | Minimum target |
|---|---|
| Triangle count (body mesh) | ≤ 15k tris for mobile, ≤ 60k for PC/console |
| LOD stages | At least 3: full, 50%, 10% |
| Texture resolution | 2048 × 2048 PBR set (albedo, normal, ORM) |
| Separate wheel meshes | Yes — required for axle rotation scripting |
| Collision mesh included | Convex hull or custom box mesh |
| GLB node naming | Predictable (e.g., Wheel_FL, Wheel_FR) |
If the preview only shows one mesh and no sub-object naming, the asset will need significant rework before it is usable in a driving mechanic.

Inspecting and cleaning the GLB in Blender
Open the downloaded GLB in Blender. The first thing to verify is the outliner hierarchy: body, wheels, glass, and interior should be separate objects — not merged into one mesh. If everything is joined, you will need to Separate by Material (P → By Material in Edit Mode) to isolate components.
Scale and axis orientation
GLB exports from different sources use different up-axes. Godot 4 expects Y-up; Unreal Engine 5 expects Z-up. Blender defaults to Z-up. Check the vehicle's orientation before re-exporting:
# Quick Blender Python check for object dimensions
import bpy
obj = bpy.context.active_object
print(f"Dimensions: X={obj.dimensions.x:.2f} Y={obj.dimensions.y:.2f} Z={obj.dimensions.z:.2f}")
A standard passenger car should measure roughly 4.5 m long × 1.8 m wide × 1.4 m tall. If you see a car that is 0.045 m long, it has a ×100 scale error baked in — apply the scale with Ctrl+A → Apply Scale before re-exporting.
Normal map direction
Vehicle bodies are almost always baked with a DirectX-style normal map (green channel inverted relative to OpenGL). Unity and Godot use OpenGL normals; Unreal uses DirectX. If the body shows seams or inverted shading in Unity or Godot, invert the green channel in Blender's Image Editor before exporting the texture.
Generating a convex collision mesh
Few free assets include collision meshes. For a vehicle body, a simplified convex hull is sufficient for most physics use cases. In Blender:
- Duplicate the body mesh (Shift+D, Escape)
- Decimate to ≤ 256 faces (Modifier Properties → Decimate)
- Rename the object
UCX_VehicleBody_01(Unreal convention) orcollision_body(Unity/Godot) - Export alongside the main mesh in a single GLB
Engine-specific import settings
Unity (URP / HDRP)
Import the GLB by dragging it into the Project window. In the Inspector:
- Scale Factor: set to 1 if you applied scale in Blender; otherwise set to match your world units
- Read/Write Enabled: off unless you need runtime mesh access
- Generate Lightmap UVs: on for baked lighting scenarios
- Rig: set to Generic if the wheels use Transform-driven rotation (most common for vehicles)
Assign the collision mesh as a MeshCollider with Convex enabled on the body. For each wheel, add a WheelCollider component at the wheel's pivot point — do not use a MeshCollider for wheels.
Unreal Engine 5
Drag the GLB into Content Browser. UE5 auto-generates collision if it finds an UCX_ prefixed mesh in the file. In the Static Mesh Editor:
- Enable Nanite only if the mesh exceeds 50k triangles and you are targeting high-end platforms
- Set LOD Group to
Vehiclefor automatic LOD budget hints - Check Collision Complexity is set to
Use Complex as Simpleonly for very low-poly custom collision shapes
For the vehicle physics rig, use the Chaos Vehicle plugin. Each wheel requires a Chaos Wheel component mapped to the corresponding bone or socket name from the GLB hierarchy.
Godot 4
Godot's GLB importer preserves node names directly. In the Import dock:
- Set Root Type to
VehicleBody3D - Ensure Generate LODs is enabled
- Set Normal Map Invert Y if using a DirectX-baked normal map
Map child nodes to VehicleWheel3D components. The wheel node's local Y-axis must point upward along the suspension travel direction — rotate in the scene tree if the imported orientation is wrong.
LOD generation for vehicle assets
Most free vehicle GLBs ship without LODs. For a 60k-tri body mesh, a three-stage chain covers all distances:
LOD0: 60,000 tris — full detail, 0–15 m
LOD1: 20,000 tris — 15–40 m
LOD2:  5,000 tris — 40–80 m
Imposter/billboard — > 80 m (for open-world use)
Generate LOD1 and LOD2 with Blender's Decimate modifier (Collapse mode, Ratio 0.33 and 0.08 respectively). Export all LOD stages as separate meshes in the GLB, or use the engine's built-in LOD tools (UE5's Auto LOD, Godot's LOD import option).
Sourcing vehicle assets from BitSoul
BitSoul's 3D asset marketplace includes vehicle props in GLB format — already game-ready in most cases, with separated wheel meshes and PBR textures packed into a single download. Search for "vehicle", "car", or "prop" in the marketplace to filter by asset type. Every model is free to download for personal projects, prototyping and evaluation; commercial use is included with any paid plan or a $4.99 single-model purchase.
When a GLB vehicle asset meets all criteria in the checklist above, the engine integration steps in this guide reduce to a 10-minute import workflow rather than a multi-hour cleanup session. Vet before you download; the time savings compound across a full game's asset list.
This post is part of the Ultimate Guide to Free 3D Game Assets — BitSoul's complete reference for formats, texturing, rigging, optimization, and engine integration.
Build with real assets: grab the 82-model Vehicle Bundle on the BitSoul marketplace and drop them straight into your project.